The short answer CorelDRAW currently using X13. The current version is X14. The Corel website is here.
 After you get over your sticker shock there is another alternative, Inkscape. Which you can download for free here. It is a open source vector editing tool.
If you are wondering about the red and the really wide screen shot it because I use Dual Monitors. The red area is outside of my monitor. Inkscape is maximized on my widescreen monitors. To the left I have a regular LCD monitor.
I can't go enough about the advantage of having two monitors for both work stuff and play. If your video card has two parts, even if one is a digital lcd monitor port, then you have the ability to use two monitors. If you only have vga connectors you can buy an adapter to covert the digital port to a vga connector.
The reason I continue to use CorelDRAW is inertia. I spend a better part of a decade with the software and it is second nature. But two years ago Inkscape finally got all the features I use in CorelDRAW and even does several better.
The most important is the bezier drawing tool. Here you can see the scanned image of the dutch map and a coastline in progress. It is hard to see but the green line is the curve that I am working on. The process is simple you click, hold down the mouse button, drag the mouse which allows you to dynamically shape the curve, and then release when you have the right shape. Best results occur when you click where the line changes direction.
 Another important set of tools are the geometric function of union, difference, etc. These allow you to combine, chop, and dice shapes based on other shapes. Ideal when you are trying to setup complex geography.
Setting up to slice out a river bed.
 The result after using the difference command.
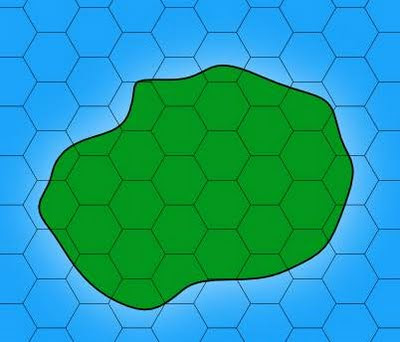
 Another important feature is the ability to do a coast glow. I create a layer underneath the ground layer, copy the ground shape, make it white, and enlarge it slightly. Then I blur the edges. In Corel I have to turn the shape in a bitmap and apply a gaussian blur. Inkscape does Corel better in this regard by allowing you to blur the object directly.
This is the combined result.

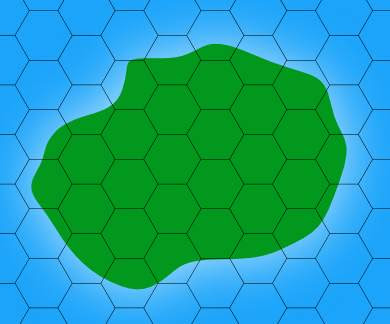
The coast layer turned off
 Showing the different layers I use.
 The ground layer off.
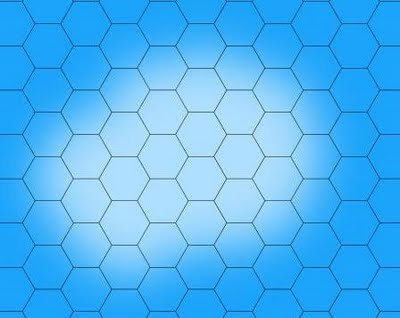
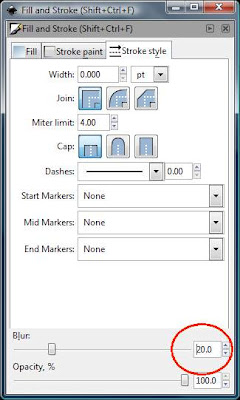
 Inkscape has handy property called blur that you can set for an object giving you the above. Here I set it to 20%.
 Finally with nothing but the water.
 You can download the map from here.
Oh if you are running a browser that supports the SVG format (Firefox, Opera) just right click the link and save it. Clicking on the link will cause you to display the svg image directly in your browser (A nifty feature).
Finally you can use textures fills which you download from my sidebar. Plus you will need to spend some time making the symbols you will need. For overland maps you will need only about a dozen or so types. Dungeon maps can be more detailed if you want to show the furniture.
This is just a brief overview and I had a start of a tutorial here. I plan continuing it before the end of the year but first I want to get the sandbox tutorial done with 13 more steps to go.
2 comments:
Very cool.
So, what is your opinion of something like ProFantasy's Campaign Cartographer 3? CC2 looked a little cartoonish at times, but the latest version can create much more "serious" looking maps...
Excellent.
Thanks for taking the time to explain your techniques.
Post a Comment