Showing posts with label inkscape. Show all posts

Thursday, October 15, 2009

More Mapping Secrets

Yesterday I was asked what do I use to make my maps.

The short answer CorelDRAW currently using X13. The current version is X14. The Corel website is here.


After you get over your sticker shock there is another alternative, Inkscape. Which you can download for free here. It is a open source vector editing tool.


If you are wondering about the red and the really wide screen shot it because I use Dual Monitors. The red area is outside of my monitor. Inkscape is maximized on my widescreen monitors. To the left I have a regular LCD monitor.

I can't go enough about the advantage of having two monitors for both work stuff and play. If your video card has two parts, even if one is a digital lcd monitor port, then you have the ability to use two monitors. If you only have vga connectors you can buy an adapter to covert the digital port to a vga connector.

The reason I continue to use CorelDRAW is inertia. I spend a better part of a decade with the software and it is second nature. But two years ago Inkscape finally got all the features I use in CorelDRAW and even does several better.

The most important is the bezier drawing tool. Here you can see the scanned image of the dutch map and a coastline in progress. It is hard to see but the green line is the curve that I am working on. The process is simple you click, hold down the mouse button, drag the mouse which allows you to dynamically shape the curve, and then release when you have the right shape. Best results occur when you click where the line changes direction.

Another important set of tools are the geometric function of union, difference, etc. These allow you to combine, chop, and dice shapes based on other shapes. Ideal when you are trying to setup complex geography.

Setting up to slice out a river bed.

The result after using the difference command.

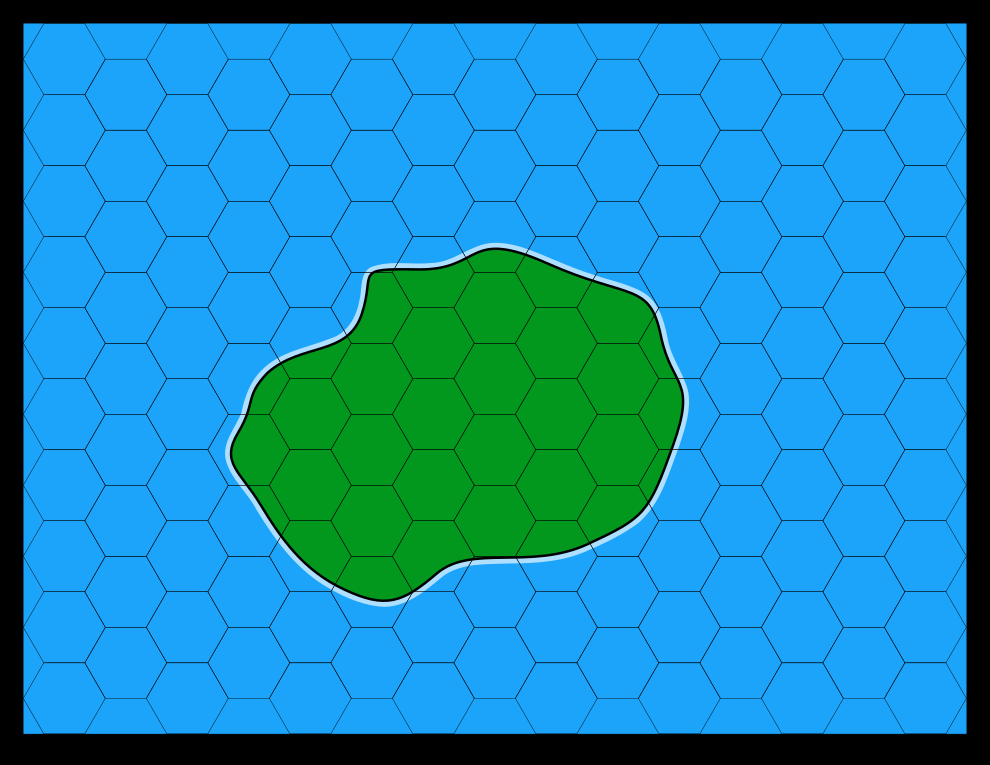
Another important feature is the ability to do a coast glow. I create a layer underneath the ground layer, copy the ground shape, make it white, and enlarge it slightly. Then I blur the edges. In Corel I have to turn the shape in a bitmap and apply a gaussian blur. Inkscape does Corel better in this regard by allowing you to blur the object directly.

This is the combined result.


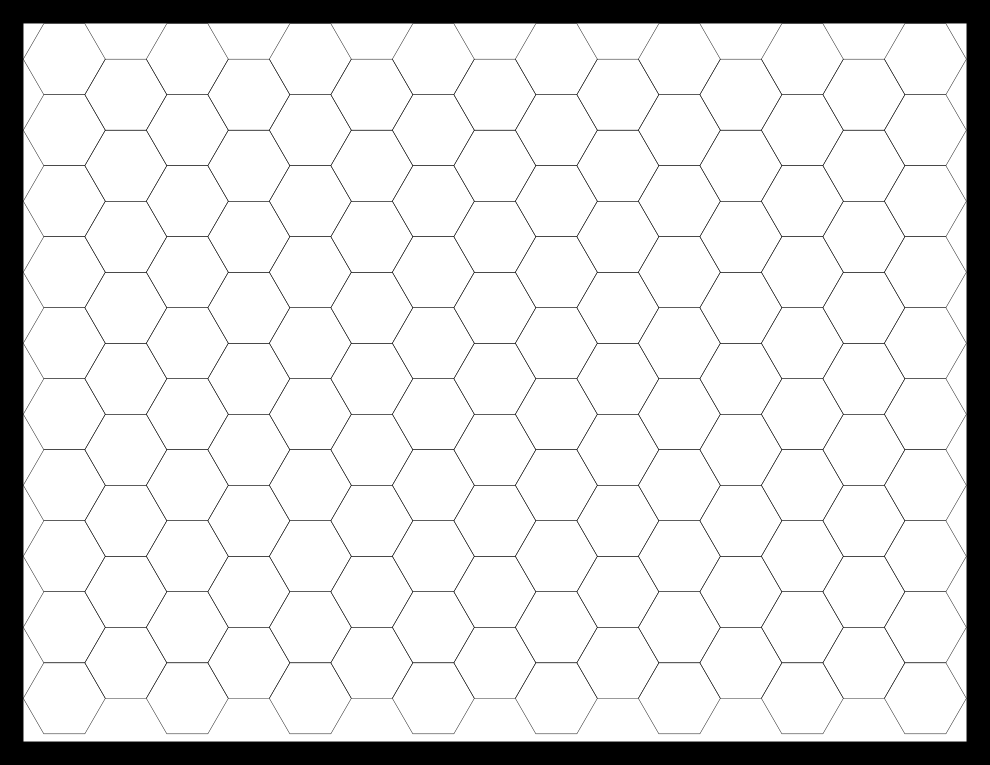
The coast layer turned off

Showing the different layers I use.

The ground layer off.

Inkscape has handy property called blur that you can set for an object giving you the above. Here I set it to 20%.

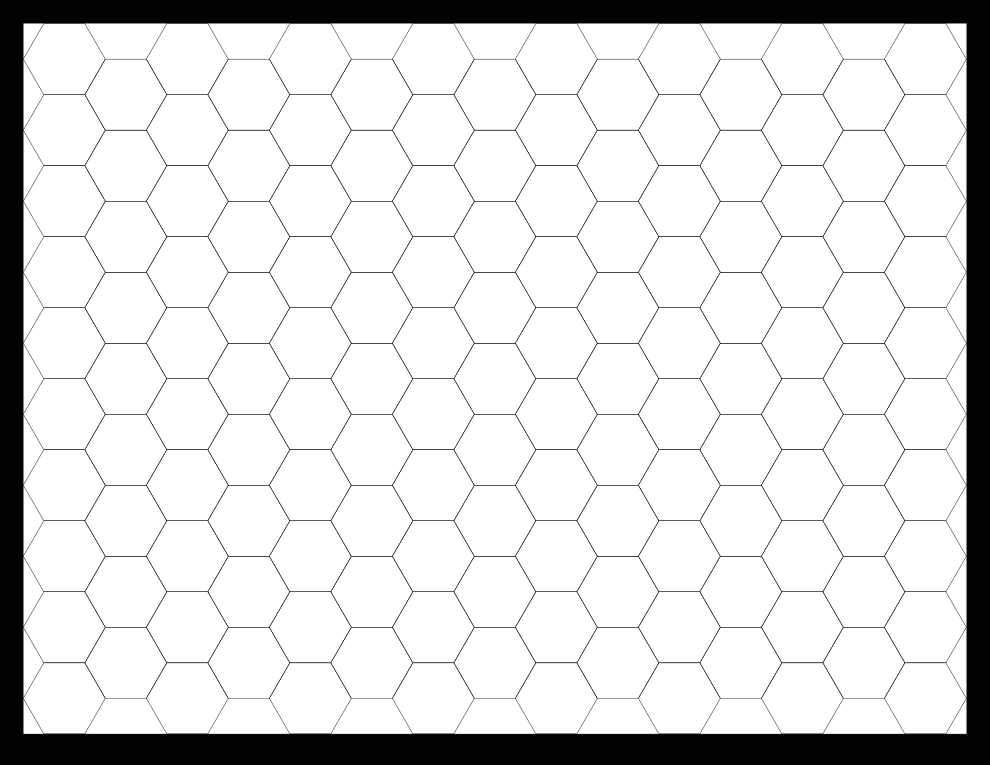
Finally with nothing but the water.

You can download the map from here.
Oh if you are running a browser that supports the SVG format (Firefox, Opera) just right click the link and save it. Clicking on the link will cause you to display the svg image directly in your browser (A nifty feature).

Finally you can use textures fills which you download from my sidebar. Plus you will need to spend some time making the symbols you will need. For overland maps you will need only about a dozen or so types. Dungeon maps can be more detailed if you want to show the furniture.

This is just a brief overview and I had a start of a tutorial here. I plan continuing it before the end of the year but first I want to get the sandbox tutorial done with 13 more steps to go.

Tuesday, November 4, 2008

Mapping Tutorial #3 (Border Fix Up)

Welcome the third in a series of tutorials on how to use a vector drawing program to do maps. The program we are using is Inkscape which is freely available.

First bring up the map you created from the second part of this tutorial or download Sample Map 2 Remember to right click and use Save Link As.. This is an SVG files which most browsers can display.


Once you have opened the file with Inkscape then click on the menu Layers->Layers... The following dialog will appear.


Make sure all the layers except Borders is locked.

You will notice at the bottom there is a slight gap between the bottom hexes and the top of the bottom border. This part of the tutorial is going to fix that.


Select the Border you will see eight selection arrows around it.


Zoom into the lower right corner by using the View Menu or holding down the CTRL key while scrolling the mouse wheel.

Click on the Edit Paths by Node tool in the toolbar to the left. It is the second one down. You will see diamonds appear on all the corners.


Click the inner diamond on the lower left corner. Then look on the top toolbar change the units from pixels to inches.

Hold down the CTRL key. While holding down the CTRL drag the inner diamond until the line just touches the bottommost hex.

Holding down the CTRL key constrains the dragging in one direction. It is useful for adjusting rectangular shapes like the borders.

After this look at the Y dimension in the top toolbar. Write it down.


Use the bottom scroll bar to shift to the lower right corner. Select the Inner Diamond. In the Y dimension on the top toolbar type in the number you recorded from the previous step. Now you have a nice even bottom border again.


The final result can be downloaded from here.

Again the reason for this that the proportion of your hex grid is not going fit exactly in your initial border. So after drawing the hex grid you will need to fix up your border to fill in the gaps.

The next tutorial will involve creating your initial sketch map, scanning it in and setting it up to be drawn on.

Friday, October 31, 2008

Mapping Tutorial #2 (Setting up your hexes)

Welcome the second in a series of tutorials on how to use a vector drawing program to do maps. The program we are using is Inkscape which is freely available.

First bring up the map you created from the first part of this tutorial or download Sample Map 1
Remember to right click and use Save Link As.. This is an SVG files which most browsers can display.

Once you have opened the file with Inkscape then click on the menu Layers->Layers... The following dialog will appear.


Make sure that Hexes is unlocked AND highlighted in blue.

Now click on the menu File->Document Properties


A dialog will appear.

Click on the Snap tab and make sure it looks like below. You will likely need to click on Snap to Nodes (it is in the middle of the dialog).

Then click the red X in the upper right corner.


Then click on the Stars and Polygon tool on the left side of the screen.

In the upper left corner, click on the star and then the polygon. There is some odd issues with Inkscape that causes you to draw a star despite having the polygon selected. This will fix that issue.

Then make sure you change the corners to 6.


Now draw a single hex.


I can't really show this so you will have bear with me.

1) Click and HOLD DOWN the left mouse button anywhere where it is white.
2) With the opposite hand hold down the control key.
3) Drag the mouse you will see the hex increasing in size and rotating.
4) Because you are holding down the control key it will only rotate in 15 degree increments.
Rotate it so the top and bottom are flat. The size is not an issue just stop when you have the top and bottom flat.
5) Release the left mouse button .

You have your first hex.


Now you will have to decide how many hexes you want from top to bottom. For this tutorial I am picking ten hexes. The actual number will depend on your scale and the region you are making up.

Now select the hex by clicking on it.


Go down to the lower left corner and right click the black color. Click Set Stroke. This will make the border of the hex black. Later one we may want to change it to a shade of gray to lower the contrast with the coastline and other features of the map.


Then click on the menu Edit->Copy
Then click on the menu Edit->Paste

You will see a second hex appear.

Drag it underneath the first hex. Drag it so that one of the upper corner is near one of the first hex's lower corners. At some point when they are close enough you will see the second hex snap into place along the bottom.


Release the mouse button.

Congratulations you have your second hex nicely aligned with the first one.

Do this until you have a column of ten hexes.

Make sure you have the arrow tool (the topmost tool) selected.

Draw a selection box around the column. Then click the menu Object->Group. This will unite all ten hexes into a single group.


Then click the menu Edit->Copy


Then click Edit->Paste.

Drag the column so that it dovetails with the first column. The even columns will be a half hex lower and the odd Columns the same height as the first column. You want about 15 columns like below.


Using the Arrow Tool select all the hexes.

Click on Object->Group. This will unite all the columns until one large hex grid.

Now drag the grid so that the upper left corner is near the inside upper left corner of the border.

Zoom in using the View Menu or by holding down the Control Key and moving your mouse wheel.

When you are zoomed in. Drag the hex grid so that the top edge and the left corner of the upper left hex touches the border perfectly. This is shown below.


Then zoom out until you can see everything.

You will notice that your hexgrid has eight selection handles. Grab the lower right one with your mouse. Hold down the control key and drag the corner. You want to fit rows as close as you can to the top and bottom inside edges of the border. As well as having the right corner of a column of hexes touching the inside right edge of the border. If you have done it correctly the result will be as below.

The control key keeps the proportions of the resizing objects even so your hexes don't get distorted.


It is ok if the top and bottom edges of the hex columns don't quite touch. We will fix that in a later step. But you will see that we have a lot of extra columns and a few extra on the bottom.

You want to click the menu Object->Ungroup about three or four times so that we are ungroup down to the individual hexes.


Start selecting any hexes that lay outside of the border and delete them.

The result should be this. Save your map and we are done with tutorial #2.


It is not easy to get the right proportions for a hex grid so always include extra columns and rows to have maximum flexibility.

Invariably you will have small gaps between the edges of the hex grid and the border. We can fix this and will do so in the next tutorial. After we are getting into the actual drawing of the map.

The final result can be downloaded from here.

Part 3

Wednesday, October 29, 2008

Mapping Tutorial #1 (Setting up your drawing)

Welcome to Part 1 of a series of Mapping Tutorials.

We are going to be using a piece of software called Inkscape.

Inkscape is a open source Vector Drawing Package available for free at http://www.inkscape.org

It has a lot of nice features comparable to other vector drawing software like Adobe Illustrator and Corel. While the commercial packages have many more nifty features Inkscape has everything we need for mapping and it is free!

Download the latest version and install it. When you run the software you will see the following screen.


First you do is click on the menu File then Save. Give it a name like Document Template or Sample Map.

Now we need to setup the basics.

Click on the menu File->Document Properties


The following dialog will appear.

Change the page size to US Letter and the Page Orientation to Landscape. After you are done click the Red X in the upper right corner.


Next click on the menu Layer->Layer... (it's all the way at the bottom)


You will see a dialog appear on the right side of the screen. This is called a docker and it docks to one side or the other. Drag it out of there by dragging the title bar. Then goto the lower right corner and drag it until it fill 2/3 of your screen from top to bottom.


You will see this. Now use the blue + 'plus' button to add a layout, name it Background. This several more times adding the following layers

Water, Ground, Vegetation, Swamp, Hills, Mountains, Lake, Hex Numbers, Hexes, Coast, Features, River, Road, Settlements, Text White, Text, Border.

After you add the layers scroll through what you added and click the lock symbol. It is circled in red below. The lock symbol locks that layer so that you can't draw on it. This prevents drawing on the wrong layer.

In the cut and paste days with glue and paper layers are like films of acetate. You build up your map or presentation by starting with a bottom sheet of acetate layering each successive sheet on top until the drawing was finished.


Then click the Border layer and click the lock system to unlock it. Make sure it is highlighted in blue. Then click the Red X in the upper right corner.


In the lower left corner there are two fields call Fill and Stroke. Fill control what color is the inside of a shape, Stroke controls the color of the border. For now we want the stroke black and the fill set to n/a

First click the rectangle tool on the left side of the screen. Then go down to the lower left and right click fill. On the menu make sure you click Remove Fill at the bottom. Then move up to the the color strip and right click black. On the menu click set stroke.


Next use the rectangle tool and draw a rectangle anywhere on the page. You click and then drag to form the rectangle.


Next click the arrow tool at the top of the tool strip on the left side of the screen. Click on the rectangle. You see selection handle appear around the rectangle.

Finally look at the second toolbar down from the top.

You will see four fields in the middle of the toolbar. This will show the dimensions of the rectangle you just drew. Go to the last field which is a drop down list. Click the down arrow and pick in (inches).

Then for the other four fields make X 0 (zero). Y 0 ,W (width) 11, H (Height) 8.5

See below how this looks


Then click on the menu Edit->Copy. Note you not see any visible change here.


Make sure you are still on the Arrow tool on the left side of the screen. Click anywhere OUTSIDE of the rectangle. You will see the eight selection handle disappear.

Then click the Menu Edit->Paste


You will see something like below.


Next change the fields for this rectangle as follows

X .25, Y .25, W (width) 10.5, H (height) 8.0


Then move the cursor well outside of the two rectangles. Hold down the left mouse button while the cursor is up and to the left of the two rectangles and then DRAG the mouse. As you drag you will see a dashed box appear. This is a selection box. Drag it until it surrounds both rectangles and release the left mouse button.


The bottom bar will report that you will have two objects selected.


If this is the case then click the menu Path->Difference. You will not see any visible changes other than the message at the bottom will change to Path (8 nodes) in layer BORDER.

What this does make the smaller rectangle punch out a hole in the larger rectangle. This means any objects that are layered below the border will show through the punched out area.


Click on black in the color strip at the bottom of the screen.


You will see the following


Now click on the menu Layer->Layers...

The following appears.

First Lock Borders

Next click on Hexes and it will be highlighted in blue.

Unlock Hexes by clicking the lock/unlock symbol next to the name.


Now save the file.

You are ready for Part 2.

What we just did is draw a 1/4 inch border around our drawing. For most printers or projects there is some amount of spaces that you can't print on. Usually it is about 1/4. By defining this border you know where the bounds are. Also it gives teh resulting map a pleasant looking boundary. As you become more proficent you may want to experiment with fancier or thick borders.

You can download the finished drawing from here http://www.ibiblio.org/mscorbit/map/Sample Map Step.svg

Note that you will have to right click the link and on the menu click Save Target As. This is because many web browser can display the svg format that Inkscape uses.

Part II